CUSTOM BORDERS
DIY Wedding Booth app comes with a great selection of designer borders to choose from. You also have the freedom to add your very own custom designs so you can match your wedding theme and include special messages to give your pictures that personal touch.


CREATE YOUR DESIGN ONLINE
Once you have chosen a template from above as a starting point for your custom design you can click on the 'Download' link to save the template to your computer. Once you have downloaded the template you can follow the instructions below to create a custom design online.
Step 1. Open Photo Editing Website
If you do not have your own photo edit software, we recommend using Pixlr which is a free online photo editing website.
Visit www.pixlr.com/editor to access it..

Step 2. Launch Web Application
Once you’ve launched the web app, you may need to click on “Secure” and see if your browser is allowing Flash to run on this site.
Click on “Allow” to let flash run. You may need to reload the page if you’re not brought to the next page.

Step 3. Upload Border
Once you are brought to the next page, you will click on “Open Image From Computer” and choose your starting template image. Please start with our example templates from above.

Step 4. Learn About Transparency
The grey and white checkered area of your starting template is the transparent area. This area is where your photo booth pictures will be displayed.
You can place images or text over this area, just keep in mind that it will be displayed on top of the photo booth pictures so its best to leave this areas blank.

Step 5. Add a Simple Background
If you would like a particular color or a specific image to be used as your background, it is best to add that first.
Click on the “Bucket“ icon and then click on the bottom black rectangle to change the background to the desired color.
Once you open up the color selector, you can move the small circles around to indicate what color you want to choose. Once chosen, you will click on “OK”. Then you will simply click on the background image of the border for the color to show up.

Step 6. Add Text
After you are happy with your background image, you can start adding your text.
Click on the “![]() “ icon and choose the area you want to place the text and then enter your text in the area provided.
“ icon and choose the area you want to place the text and then enter your text in the area provided.

Step 7. Save Your Design
Once you’re happy with your design, choose to “save” your image.

Step 8. Image Settings
You can name your image anything you’d like, just make sure of the following:
No spaces in your file name
Save as a .PNG file

ADDING CUSTOM BORDER TO APP
We made it simple to add your very own custom border design to use with the app. It may look complicated, but essentially you are just creating an album to store your designs so DIY Wedding Booth app can pin point where your designs are stored.
Step 1. Open Photos
First we need to create an album so the app can have somewhere to look for your new border designs.
Go to PHOTOS on your iPad and make sure your viewing your 'Albums' by tapping on 'Albums' located bottom center.
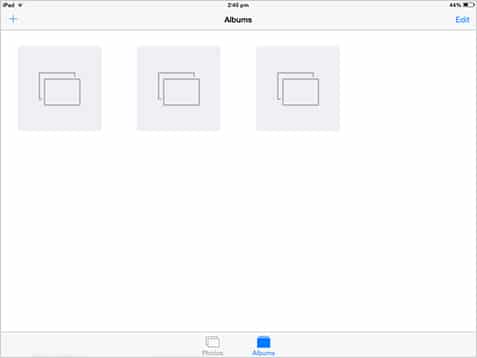
Step 2. Create New Album
Click on the '+' sign located top left to add a new album.
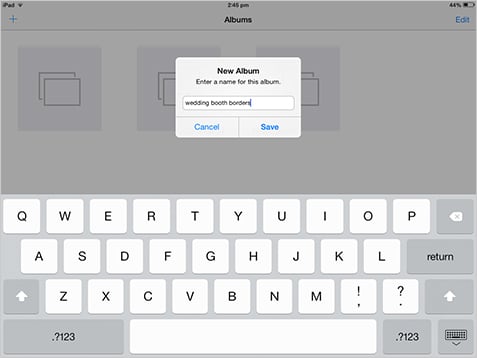
You need to make sure you name the album 'wedding booth borders' as the app is designed to look for this specific album name.
Make sure to type in lower case, 'Wedding booth borders' or 'Wedding Booth Borders' will not work.
Step 3. Email Your Border
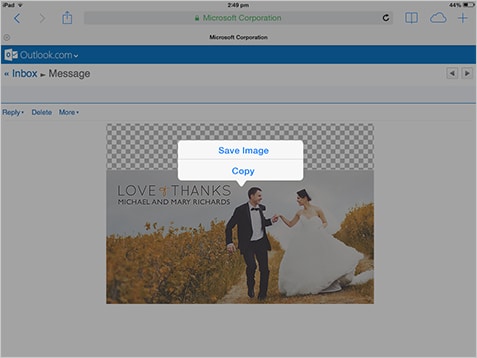
This is the fastest and easiest way to transfer your new border image to your iPad.
Simply email the border image and open the email on your ipad.
Leave your finger on the image, a pop up will appear, choose 'Save Image'.
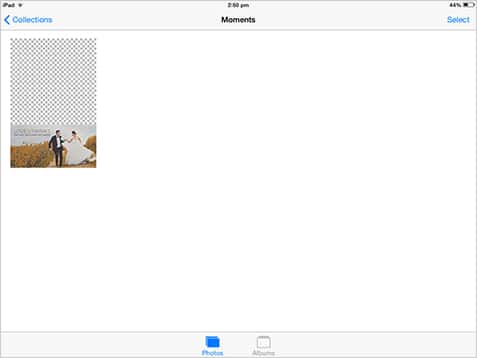
Step 4. Check Your Photos
Open your PHOTOS and you should see your new image in either your camera roll folder or in moments.
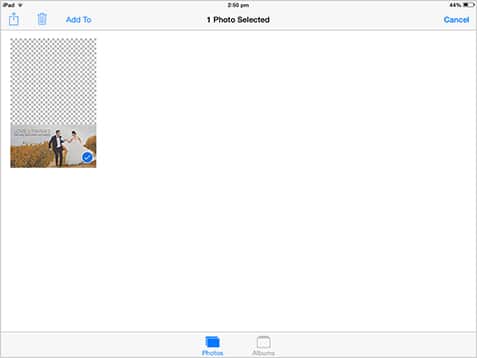
Once you have located your new border click on 'Select' located top right.
Step 5. Add to Album
Select your new border image then click 'Add To' located top left.
Make sure you add your new border image to 'wedding booth borders' album.
All done, your new border will now show up in your settings within our app.